woohooooo!!! can't wait to get mine!

Thursday, January 8, 2015

Change you own motorcycle oil!

There is only one reason why I do this on my own now! Its easy.. yup as long as you have the right tool, we can certainly do it ourselves. But we all have to keep in mind to dispose the used oil properly. In my case, our garbage collection have their own way of disposing used oils.

As for this blog, I won't be discussing the advantage of doing this regularly to your beloved bikes. As for me since this bike is my daily commuter then I most of the time change the oil atleast 1 a month or maximum of 2 months of using the bike.

There are different kinds of oil. I would prefer the cheap ones like oils with SAE 40 grade than 10W- 40. I believe its good for my bike and for practicality too.. I do this regularly so why spend that much when you can just buy a liter at 175 pesos:)

If you wanna know better or feed your thirst on the subject then read on.

using PTT Max Speed SAE 40 oil @ 175/liter

using ice-cream container as my drain


WARNING! secure side stand when kids are around!


oil drail is 24 mm 
After draining oil from the bike, I let it sit for sometime while doing other stuff at home. This is why I do it at home, I get to do other stuff while waiting for most of the oil to drip. You would want to clean the oil filter found inside the oil drain. Close the oil drain and pour new oil on the other side of the bikes engine where you have your oils dip stick! Thats about it! Drive safe everyone...


Friday, December 26, 2014

Cleaning my Casio G-SHOCK wristwatch

Kinda long time after my last post..

Now this "how to" may come handy to all busy daddy's out there. This may look quite simple to do but in my case the more I thought about cleaning it, the more I forget doing it. So I finally had the chance to do it.

Before:


YIKES!!! I know...:(

Here are the steps.
1. Submerge watch with lukewarm water.. not too hot, not to cold for 15mins.


2. After 15 mins, use your favorite toothbrush ('coz time to get a new one:)) to clean the grime and dirt on the watch. In my case, I didn't use soap but instead I used a small amount of toothpaste :)...Brush it like crazy.. you will know that you have done enough because your arms/shoulder will sore..Yup! It happened to me. RINSE... RINSE and few more RINSE.


3. Dry your watch with anything available. You might observe some fogginess on the display but this will just disappear after a few minutes.

After:


Follow at your own risk. 

Thursday, November 20, 2014

24hr Vulcanizing Shops in Cebu

This topic will be updated everytime I would find something to add on the list... For me knowing a reliable vulcanizing shop is very essential, especially when travelling with the family. This also comes handy not just on the unfortunate time that we get a flat tire but also during preparation. Let say its Friday, last day of regular work week.. The family is going on a holiday road trip to see the Butandings in Oslob.. This means that you have to leave the city early that you would need to arrive in Oslob before 8am (Whale Shark viewing is best before 10 AM). So after work, you did a little grocery with wifey, now when you reached home and checked the car you found out that the spare tire is bad..blah..blahh... blahhhh.... this is just some real life examples where knowing some 24hour V-Shops nearby helps..

I live in Lapu-Lapu City.. Nap and Alvin Vulcanizing Shop is located in Pusok, Lapu Lapu City... They have been my refuge when needing tire repair services. (They were stationed somewhere in Pajo before, now transferred few months ago in this new location.)

View across the street..:)


Heres another 24hour vulcanizing shop located Subangdaku. Their spot is near Northbus Terminal.


WILL ADD MORE SOON!!!


Tuesday, November 18, 2014

electrical taping exposed wires on my XR200

So i got 3 days off this week, so I thought of fixing my motorcycles ignition... The job was really easy but it got pretty tough because of my little assistant that keeps on jumping at my back while soldering..

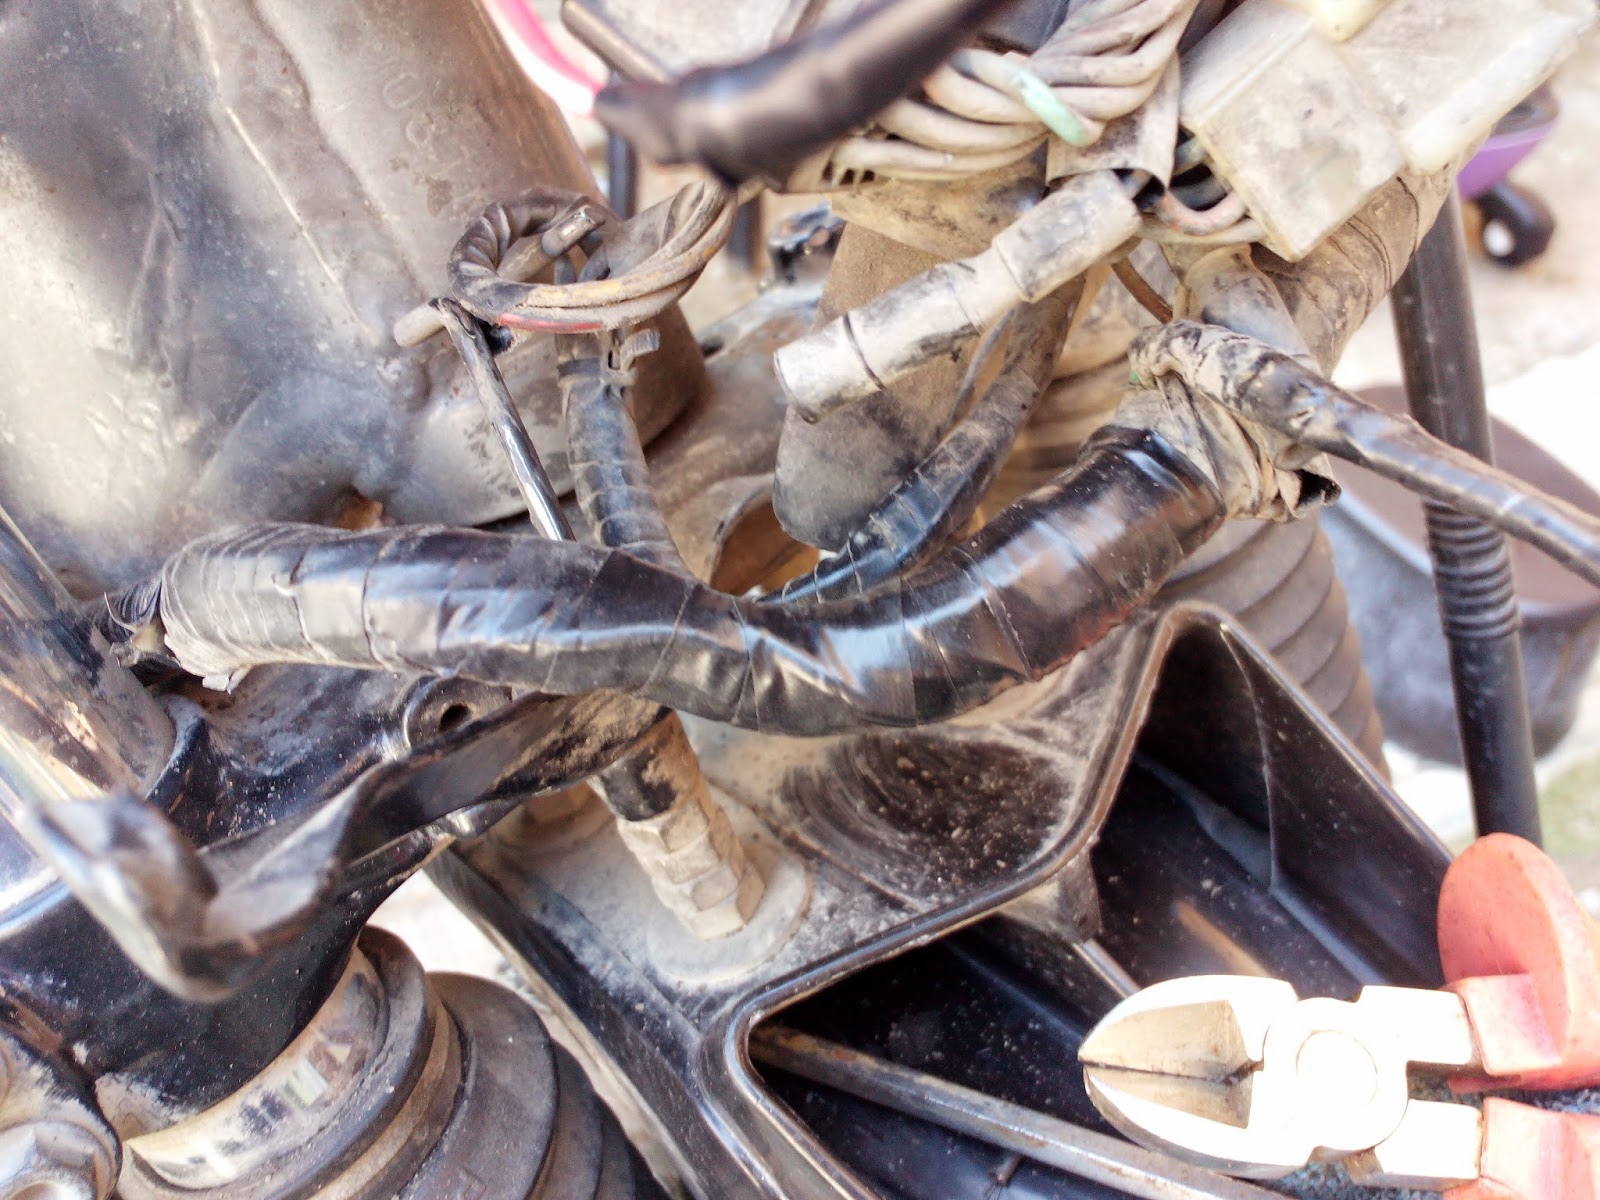
After connecting the ignition wires I saw few exposed cables. I have an old XR200 Honda so this was a by product of age and abuse:).. so electrical taping is essential to avoid short circuits.

Here are some tips I learned from an old buddy who works at CFG Banilad. Same technique was also used by another electrician who rewired my bike when I tore it down few years back.

Picture below is quite simple to understand:) So what you need is to transfer or roll the electrical tape to another smaller roll:)


I use 3M Electrical Tapes all the time:)


Sample 1.
comes handy when insulating wires too:)


Sample 2.


this is the bikes main harness.. take the  old tape and re-tape


Sample 3.


Advantage of using this practice is that you avoid the annoying thing that happens when you cut the tape first then tape.. yup! it sticks anywhere.. when this happens the tapes sticky part would accumulate dust.. Hope this helps!

Daddy's advise when working with little kiddo's is to do a visual check before using them bikes.. You might have some toothbrush stuck somewhere...


Wednesday, November 12, 2014

DIY: Changing the lower arm assembly of your Suzuki Multicab

These pictures should be easy to follow. Then again, when buying the lower arm assembly, bring a sample to avoid getting the other version. When doing this procedure, always make sure to practice "SAFETY". Use good jacks and as a precautionary measure use your spare tire and put it under just incase the jack fails:(


Change Oil??? I let the Shell dudes handle it..

Hassle free change-oil??.. Drop by any gas stations nearby. I usually do mine in Shell Gas station in Basak-Mandaue. They offer packages depending on the budget you have. I good with the 1250 package (Suzuki multi-cab); this includes 3 liters of Shell Oil and the oil filter (Vic Oil filter brand is already a good brand).. there will be extra charge if you want flushing. And yes they have free coffee:)


You can ask their attendants to check your gear oil too.. :)

Suzuki Multicab Steering problems??? hmmm.. this may help...

(readers>> i'm no mechanic so terms or used words may not be technically correct )

We own a Suzuki Srum van, this probably has served us for almost 10 yrs now. This van has been thru a lot but has never failed us (i think).. But of course over time this car has given us, mainly me:) some headaches since I am in-charge when it comes to car repairs and maintenance. 

If by chance you are experiencing any steering issues, like tire mis-alignment; crappy underchasis sounds when passing thru crappy streets and steering rattles.. chances are you have some steering issues. It maybe some rubber bushings that needs replacements: lower arm assembly bushing isssues, center post bushing replacement or rack-end overhauls.

My go to guy is Jesse. Before he was assigned in a shop across Toyota Tabok Mandaue, owned by Mr. Alan Choachuy. Currently he is now at the Aldo Goodyear Servitek before reaching Canduman. 

Tips:
Centerpost issue - Centerpost bushing replacement can be purchased in Tri-J (Mandaue - Tabok branch). I forgot how much it cost me but I think it was not more than 350. 

Lower Arm Assemly - When buying one be sure to bring a sample. Based on 2 separate purchases I always comeback returning the wrong item. There are 2  types:) 

Rack End - If this needs overhauling, Boss Jesse will point you to a machine shop nearby. They charge I think 600 or 800 for the oil seal for both sides. Boss Jesse will be dismantling the assembly for you. 

Charges are cheap, at around 250 to 350 depending on what the issue is. If you want things done in one day, get to the shop early like 8am.


Lazada Philippines