woohooooo!!! can't wait to get mine!

Showing posts with label mactan. Show all posts

Thursday, December 3, 2015

DIY project - cafe racer side mirror install in Yamaha SRX400


So my good friend Dennis wanted me to install a cafe racer side mirror on his SRX 400. So I went to Stokers bike shop in Wireless Subangdaku to get this nice mirror @ 1350php.


Here are the easy steps on how i did it. Enjoy!

First i had to plan how to install it either by using the rubber expander that came with the mirror or do it another way. 

Since I have to impress myself, heres the another way i thought about.

Took the stock barends

So the plan was to of cut the barend and bore a hole where i can mount the bolt from the mirror. Good thing i have few friendly friends at a machine shop nearby;)


Installation


Other angles

Side mirror - 1350php
Machineshop labor- 150php
Time spent - 2 hours

Just comment if you need any info on this project


Friday, November 20, 2015

DIY - Adjusting Guitar String Height

Yup... #cebudaddy sure knows how to do a little bit of guitarin'... I got this junior guitar bought around 2499 Php at Gaisano Grand Mall a year ago.. I thought of visiting my strumming skill because my pretty daughter is now singing:). My problem is that my fingers hurting after a long time of playing.. so I thought maybe I'd try adjusting my guitar string height...

Here's how I did it!


 This is the guitar I bought.. I think its imported from China..

Guitar ABC's


 This was the string height before... Sorry about the poor pic.


First step would be to loosen the strings... you don't really have to loosen it all the way.... in taking the guitar pegs out, you can use your mighty strong fingers or follow me using a cutter.. you can use a cloth to protect the peg/guitar bridge when using the cutter to avoid accidental scratches. it wont really hurt it, we only require your finger muscles here:)  


After taking the strings out... mark the part sticking out of the saddle so that we will know later when we do some testing how far we have sanded...

 Slowly sand the string saddle... we do few up and down strokes then we test... put the saddle back into the slot.. put a string back in, tighten and test... i won't go very technical but we just need to bring the string height down a few mm. we don't really want to sand the saddle to much because if the string will sit too low it will create a buzzing sound.. just be patient here!

This is how it looked in my guitar after sanding and testing... 

The before picture!:)


Thanks for viewing.. 


Thursday, November 12, 2015

engine sprocket change for XR200...

the first time I experienced this problem was 3 yrs ago, we were on our way home from my grandparents place; Bogo, Cebu. As we were cruising barangay Sogod... all of a sudden my bike
isn't responding to my gas.. revved up the gas and changed the gear... nothing happened.. since it was almost dark we decided to just pull the bike home using another bike... 

To make the story short.. it wasn't really engine related.. it was just the engine sprocket got eaten by the engineshaft.. I hope you know what I mean!

For the past 3 years, this happened to me few times and another 1 just last week. For this post I will just be showing easy to do this with the right tools and spare parts.

I got everything prepared for this operation: got my spare 14T engine sprocket from Reliance Motors Lapu Lapu City; 24mm open Wrench; 10mm ratchet wrench; 


Lets do this quick: I had to make access to the engine sprocket area so I have to open the engine sprocket access area. Loosen the rear tire to get the chain loose... see pics as reference.


Next step would be to loosen the 2 bolts holding that thing locking the engine sprocket in place.


After taking the parts apart, I noticed that the engine sprocket didn't wear as much as it did before. Checked the drive shaft and it looks good too.. I then turn to the last possible culprit.


Good thing after experiencing similar problem before. I was able to bring with me spare parts.


So took the old engine sprocket out and put everything back in.. now I'm ready to roll!

Here's the pic of the old engine sprocket.

Thanks... hope this helps! 


Friday, December 26, 2014

Cleaning my Casio G-SHOCK wristwatch

Kinda long time after my last post..

Now this "how to" may come handy to all busy daddy's out there. This may look quite simple to do but in my case the more I thought about cleaning it, the more I forget doing it. So I finally had the chance to do it.

Before:


YIKES!!! I know...:(

Here are the steps.
1. Submerge watch with lukewarm water.. not too hot, not to cold for 15mins.


2. After 15 mins, use your favorite toothbrush ('coz time to get a new one:)) to clean the grime and dirt on the watch. In my case, I didn't use soap but instead I used a small amount of toothpaste :)...Brush it like crazy.. you will know that you have done enough because your arms/shoulder will sore..Yup! It happened to me. RINSE... RINSE and few more RINSE.


3. Dry your watch with anything available. You might observe some fogginess on the display but this will just disappear after a few minutes.

After:


Follow at your own risk. 

Wednesday, November 12, 2014

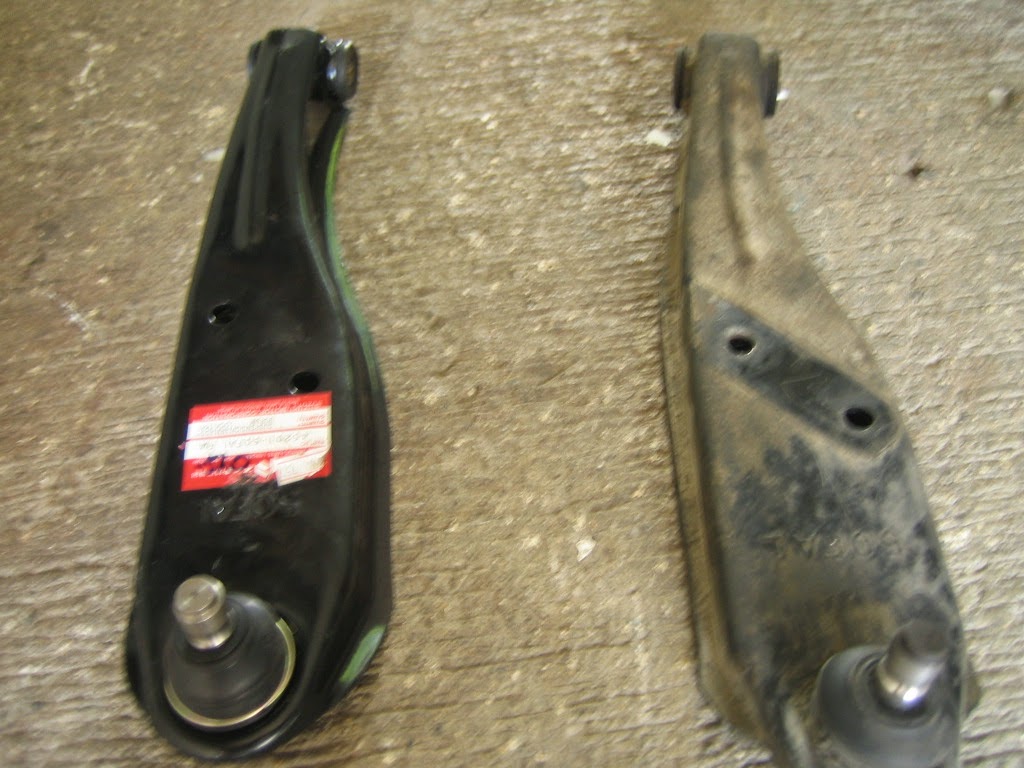
DIY: Changing the lower arm assembly of your Suzuki Multicab

These pictures should be easy to follow. Then again, when buying the lower arm assembly, bring a sample to avoid getting the other version. When doing this procedure, always make sure to practice "SAFETY". Use good jacks and as a precautionary measure use your spare tire and put it under just incase the jack fails:(


Lazada Philippines